
Using Keyboard Shortcuts in Flutter Desktop. A Simple Guide.
Feb 1, 2021
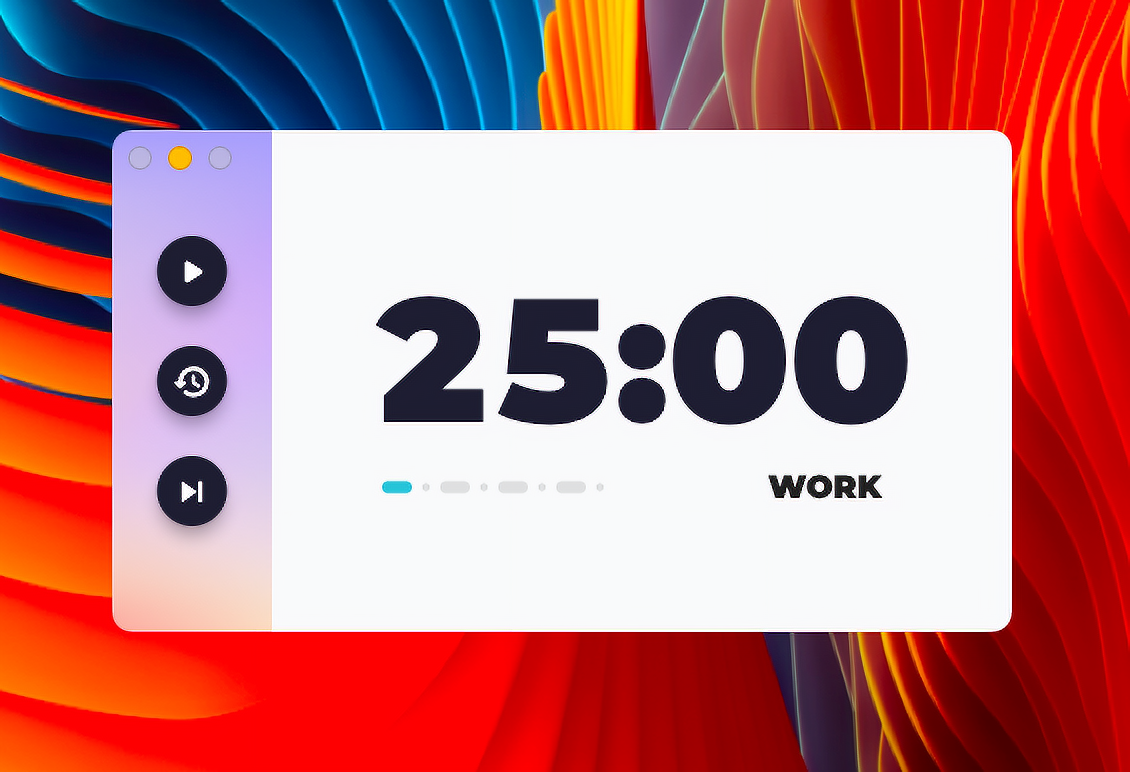
A few weeks ago, I shared a Pomodoro app built entirely with Flutter. Under normal circumstances, that would be boring. But this app was built to give an example of a basic Desktop app built with Flutter. It had everything you needed in a typical desktop app like window management, keyboard shortcuts, and even access to the menu bar.
Check out the repository!
Today I wanted to write about one of those features, which as you may have guessed from the title, is keyboard shortcuts in Flutter! If you want to implement more desktop specific functionality like hover effects in Flutter, sign up to my mailing list so you don’t miss it!
In this tutorial, we will recreate the default counter app, but with keybindings to add and subtract the value when we press a shortcut.
The wrong way
You may have come across the RawKeyboardListener widget (that has gotten a little more popular in recent times), which allows you to listen to “key-up” and “key-down” events on the keyboard.
You CAN implement keyboard shortcuts with this widget. But I do not recommend this for many reasons.
First of all, you can’t work with multiple keys.
Not only will you have to filter for key-down events, but you won’t be able to integrate this with other desktop-specific plugins (mostly due to the lack of a uniform implementation).
For example, if you would like to use the menu bar plugin with your shortcuts, you would have to use the LogicalKeySet, which RawKeyboardListener is not based upon.
Plus, you’ll not be able to access a lot of native functionality like key repeats and invalid key notifications (sounds).
In other words, using this widget to work with keyboard shortcuts is just, a bad idea 😖

The widget is much better for getting input from the keyboard without using a TextField, which is also pretty useful 🚀
You can read more about RawKeyboardListener from this article on medium or the documentation.
The better way
A much better widget to use would be the FocusableActionDetector` which comes with a very simple API for listening to keyboard shortcuts.
It takes in a map of shortcuts (LogicalKeySet: Intent), and actions (Intent: Action).
Intents and Actions
An Intent’s major purpose is to describe an event/action. Take the example of a browser app with a keyboard shortcut that creates a new tab. An Intent for this would look like this:
That’s really all you need to know. So in our counter example where we would like to increment and decrement the value with a keyboard shortcut, we would need the following Intents:
Actions on the other hand, are used to do something once an Intent is received. Once the action is “invoked”, we execute some code! In our new tab example, an action for the intent would look like this:
There are different types of actions and intents for different scenarios. They are mostly descriptive, so the above examples may be all you need to create your app. You can see out more types of actions and intents in the source code.
Let’s create the counter app!
Create a new flutter project for web/desktop. We will not be modifying much of the original source code. In case you want to use the Dartpad, here’s the code (but without the comments 🙃):

Since we will also be decrementing our counter, we should probably create a method for decrementing the counter.
Awesome! Now that all the code we need for our counter is done! Let’s start creating our shortcuts.
First of all, we need to create, our Intents and shortcut sets. Add two top level logical keysets and two Intents for incrementing and decrementing the counter.
Notice how we are using LogicalKeyboardKey.meta. This represents the CMD key on macOS. On windows, replace this with LogicalKeyboardKey.control.
To see a list of all the possible logical keyboard keys in Flutter, check out the documentation.
Awesome! Now we can get on to creating our Widget which will listen to our shortcuts and respond to them. We’ll call this widget CounterShortcuts. It will take a child, and two callbacks… one for responding to increment events, and one for responding to decrement events.
Now we can finally build our widget with our FocusableActionDetector 🎉
I’ll post the code, and explain it after.
The FocusableActionDetector first of all, requires that we give it a child. In this case, it will be the counter widget.
Next, we need to think about how we manage its focus. In a larger app with many text fields and other widgets that may need focus on, we would ideally provide the FocusableActionDetector with a focus node and manage that on our own. But since we don’t have anything else that could request focus in our app, we can simply set its autofocus parameter to true.
Now we need to give it our shortcuts and actions. In the shortcuts, we pass in a map of type Map<LogicalKeySet, Intent>. So for our incrementKeySet, we pass in IncrementIntent, and for the decrementKeySet, we provide DecrementIntent.
Our actions take in a map of type Map<Type, Action>. So for our IncrementIntent, we provide a CallbackAction that calls our onIncrementDetected callback when it is invoked, and similar for the DecrementIntent.
The last thing we need to do is wrap our counter with our CounterShortcuts widget. When onIncrementDetected is called, we increment the counter and we do similar for onDecrementDetected.
And voila! We now have a fully functional counter app that responds to shortcuts 🚀
(For the sake of demonstration, I’ve added a snackbar that shows which keys are pressed).
If you’d like to learn how to use the shortcuts with the menu bar, then join my mailing list! A tutorial for that is coming soon 😃